Melotus Versio Manual#
Stereo texturizer using granular processing designed for grain delays, accompaniment, and transformation of any and all audio
Screen reader accessible documentation
Overview#
Melotus Versio is a stereo texturizer that uses granular processing to transform and reshape sound. It's granular for Doombient. Designed to be played by hand or manipulated within a patch, Melotus can act as everything from a grain delay to a completely transformative texturizer with extensive grain control and manipulation of triggering, direction, and randomness. Audio can be filtered with a lowpass/highpass combo filter that adds haunting shimmers and subharmonics. Plus, grains can be frozen by hand or with triggers and gates, or clocked to create rhythmic effects. Plus, Melotus Versio is a DSP platform and can be transformed into a completely different effect by loading a growing number of alternate firmwares, completely free—or program your own firmware with our open-source documentation.
- Type: Granular texturizer and delay
- Size: 10 HP
- Depth: 1.5 inches
Etymology#
Melotus -- from Latin: "badger" Also, a contraction of Melocactus, a genus of prickly cactus
Versio -- from Latin: "Versatile"
"Versatile spiky badger"
Color code#
On boot, the Melotus Versio's LEDs will shine with this color pattern to indicate that it is running the current Melotus Versio firmware.

Power#
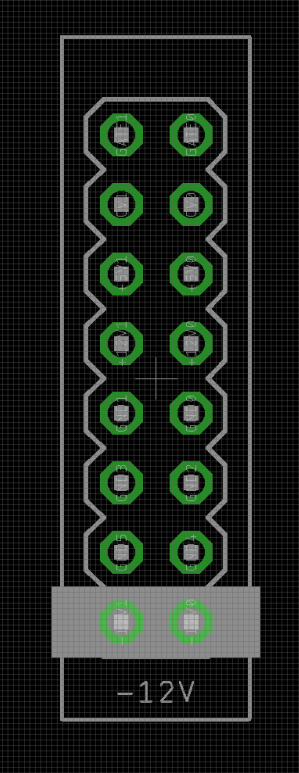
To power your Versio, turn off your case. Plug one end of your ribbon cable into your power board so that the red stripe on the ribbon cable is aligned to the side that says -12 V and each pin on the power header is plugged into the connector on the ribbon. Make sure no pins are overhanging the connector! If they are, unplug it and realign.
Line up the red stripe on the ribbon cable so that it matches the white stripe and/or -12 V indication on the board and plug in the connector.
Screw your module into your case before powering on the module. You risk bumping the module's PCB against something metallic and damaging it if it's not properly secured when powered on.
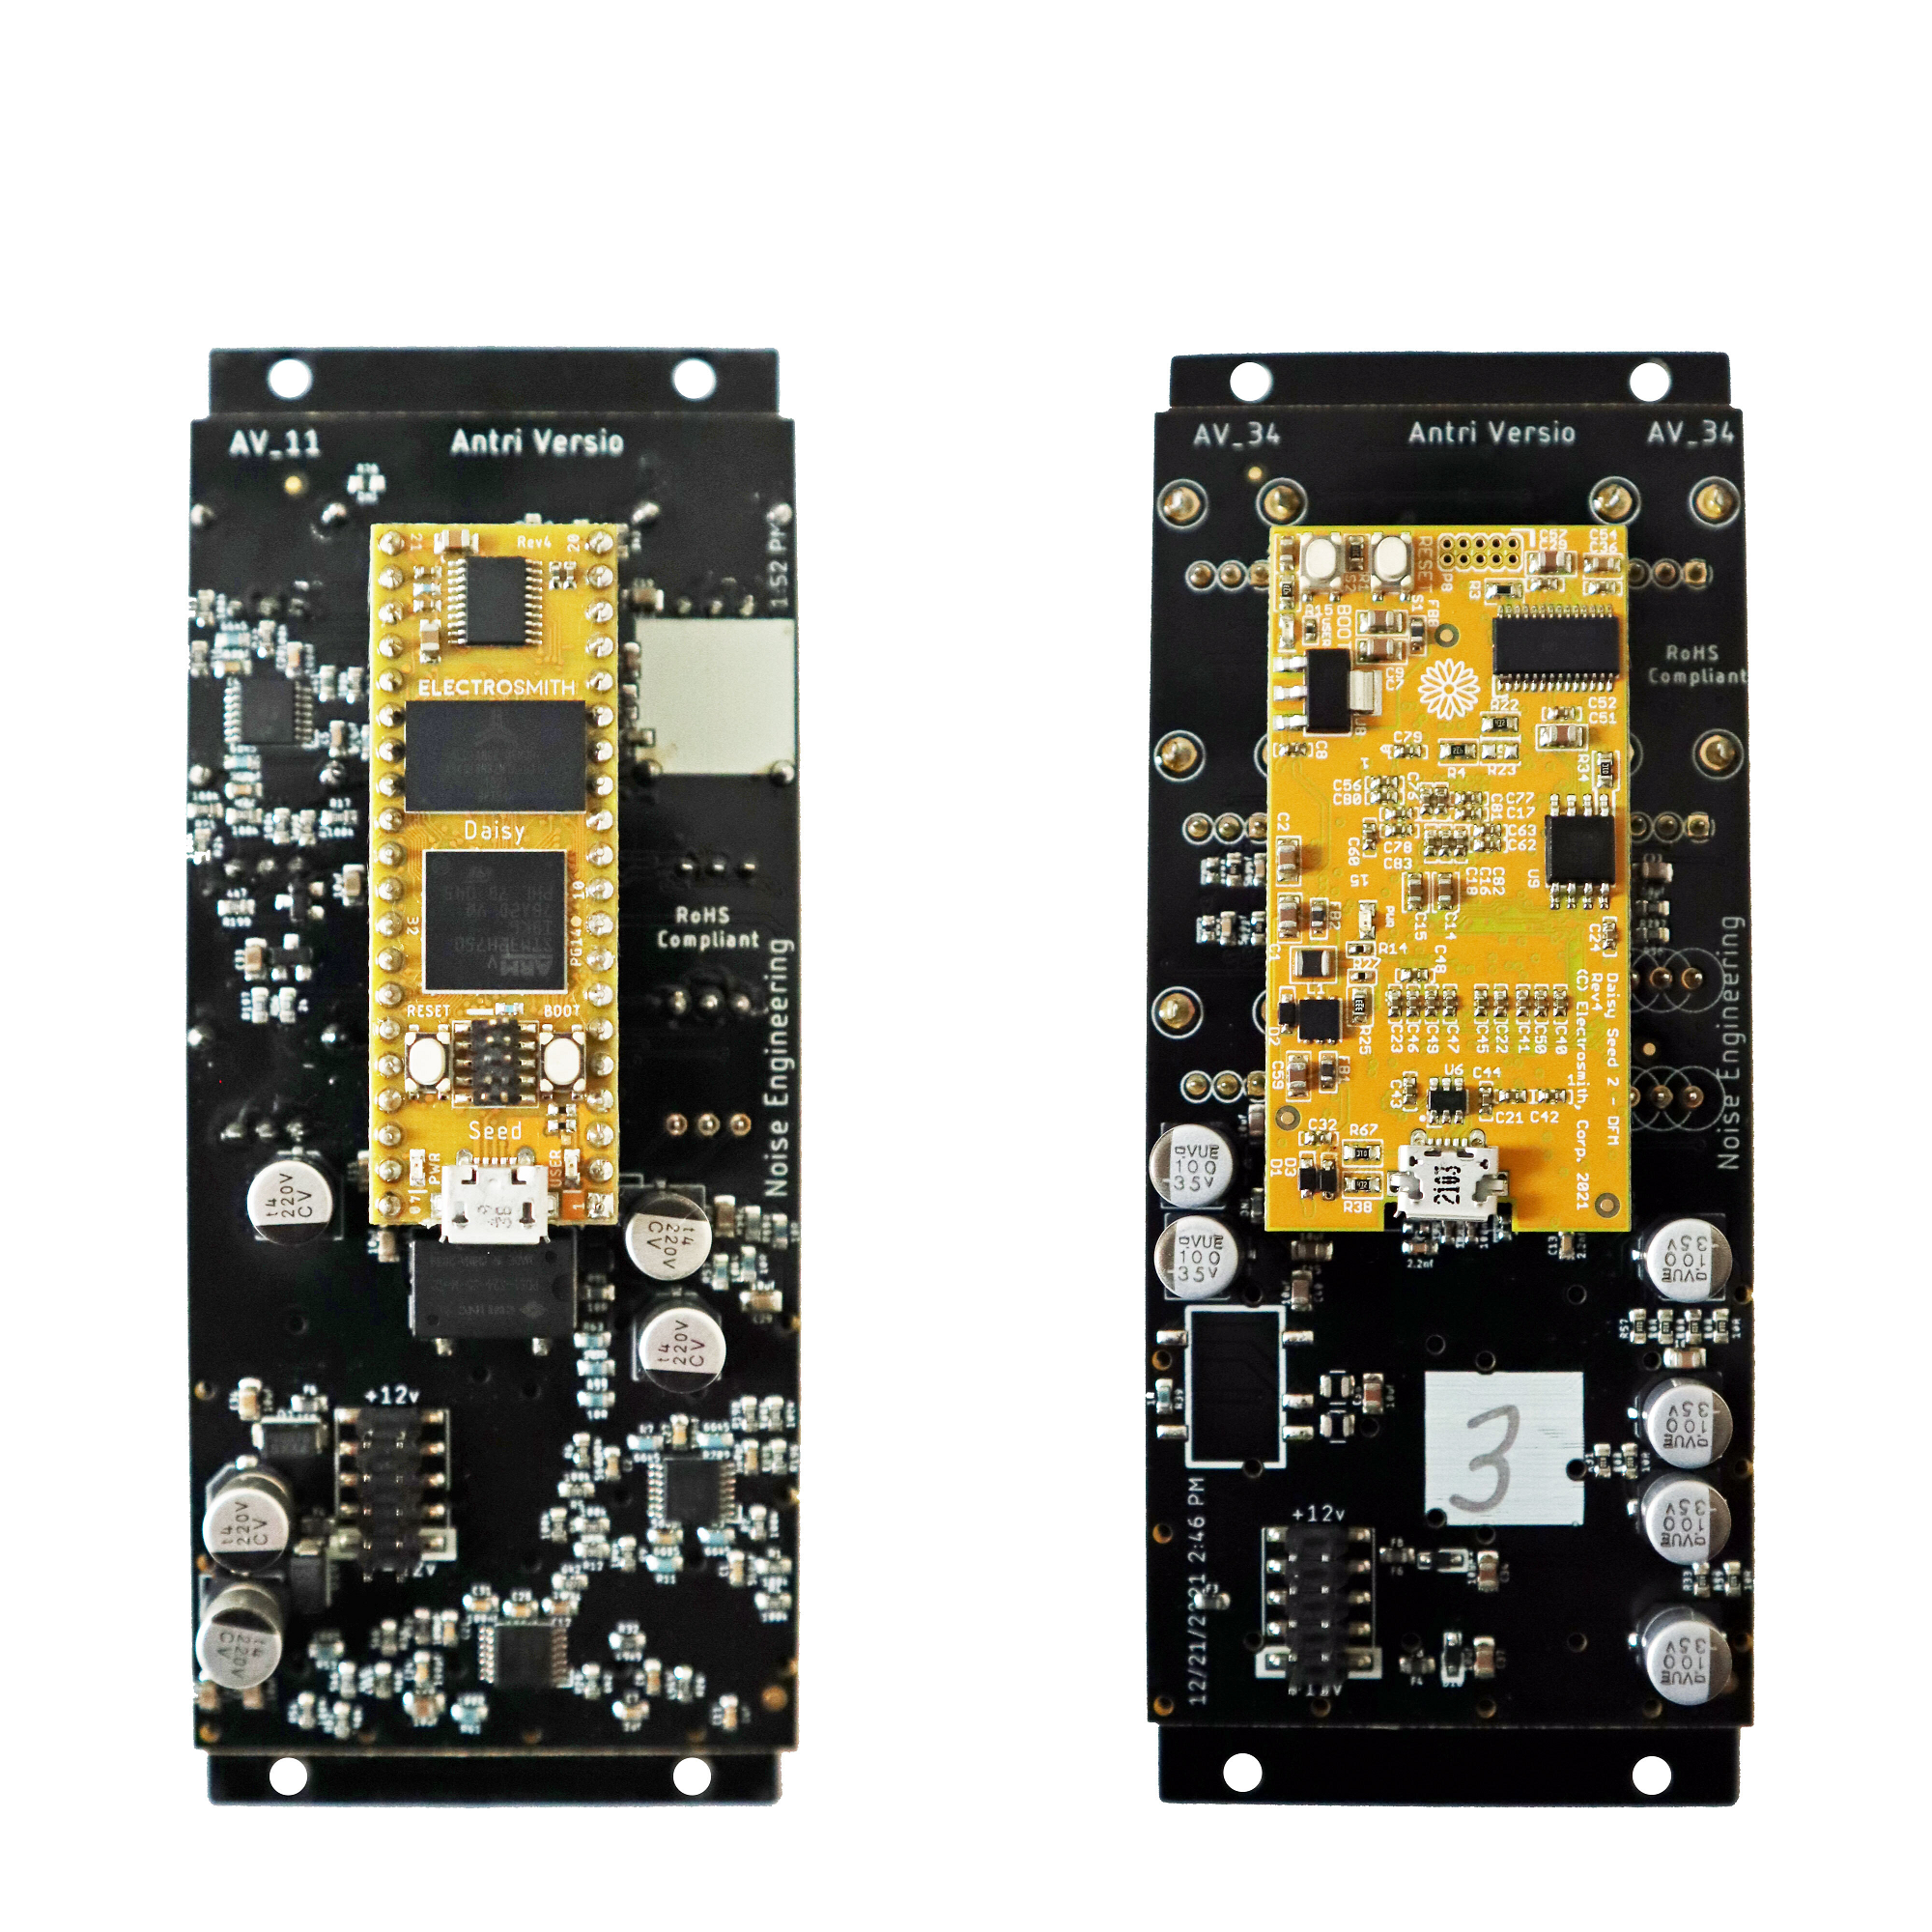
If your Versio looks like the left picture, it requires 70mA +12v and 70mA -12v. If it looks
like the right picture, it requires 125mA +12v and 10mA -12v. Versio does not use the
+5v rail.
You should be good to go if you followed these instructions. Now go make some noise!
Input & output voltages#
All CV inputs expect 0 V to 5 V. All pots act as offsets and sum with the input CV. The FSU gate input responds to signals above 2 V. The audio inputs clip around 16 V peak to peak.
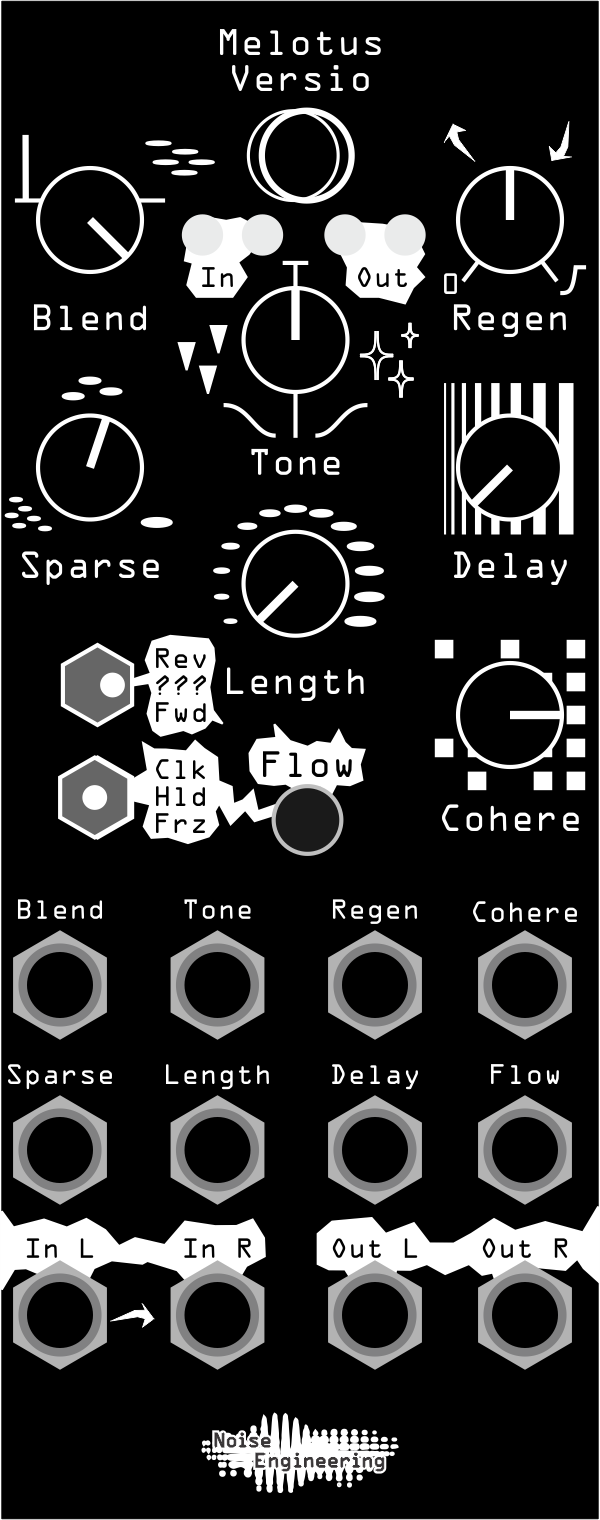
Interface#

- Sparse
- Changes the number of grains from 24 at minimum to 1 at maximum. Grains become more obvious as the knob is turned up.
- Tone [bipolar]
- Filter and effects. To the left of 12:00, Tone acts as a lowpass filter and adds in detuned subharmonics. To the right of 12:00, Tone acts as a highpass filter and adds in a slightly detuned octave-up shimmer.
- Length
- Changes the length of the grain from
.2sto2s. - Regen
- Feedback control. All the way to the left, feedback is minimized. As the knob is turned, the amount of feedback increses, creating longer textures and complex effects. Past 3:00 the grain feedback ducks based on new sounds at the input.
- Delay
- Sets the delay time of the grains from
.1sto8s. When in clocked mode, Delay acts as a clock divider/multiplier with the following settings: 1/8, 1/4, 1/2, 3/4, 1/1, 5/4, 3/2, 7/4, 2/1 - Cohere
- Reduces the randomness of grain triggering as the knob is turned up.
- Flow
- Gate/trigger input and respective button; behavior is based on the Clk/Hld/Frz switch setting.
- Rev/???/Fwd
- Grain playback direction. Selects between backward, chaos, and forward.
- Clk/Hld/Frz
- Mode selector that sets the button behavior.
- Clk: In
Clkmode, the Flow button acts as a tap tempo, and the Flow input acts as a clock in. Holding the button down for a few seconds clears a tapped clock. Note that clocks set in this mode are remembered when switching modes. - Hld: In
Hldmode, Flow acts as a grain-freeze toggle. Pressing the Flow button or sending trigger inputs freeze the current grain until the next button press or trigger in. - Frz: In
Frzmode, the Flow button freezes the current grain while the Flow button is pressed or a gate at the Flow input is high, and unfreezes when the button is released or the gate goes low.
Patch Tutorial#
- Basic Delay
- Patch a sound source to
In L(andIn Rif sound is stereo). PatchOut LandOut Rto your mixer. Set knobs as shown, and flip the switches toFwdandClk. UseDelayto change the delay time. TapFlowto manually set a tempo; hold downFlowfor a few seconds to go back to knob control. Patch a clock toFlowto sync the delay time to the rest of your patch. TurnRegenup to increase the number of echos.

- Note Freeze
- Patch a voice to
In L(andIn Rif sound is stereo). PatchOut LandOut Rto your mixer. Set knobs as shown, and flip the switches to???andFrz. Mult the gate from your voice toFlow. This will freeze the grains whenever the voice’s gate is high, creating a haunting harmony. Try using a separate gate pattern instead of multing the pattern from your voice to create an even more complex accompaniment.

- Grain Navigator
- Patch a sound source to
In L(andIn Rif sound is stereo). PatchOut LandOut Rto your mixer. Set knobs as shown, and flip the switches toFwdandHld. TapFlowto freeze the grains. Then use theDelayparameter to scroll through the grains.
- Big Subs
- Patch a long sound like a synth lead
In L(andIn Rif stereo). PatchOut LandOut Rto your mixer. Set knobs as shown, and flip the switches toFwdandClk. This patch will generate thick subharmonics that accompany your input. Try changing the position ofToneto change the amount of subharmonics, or turn it past 12:00 to add shimmering octaves instead.

- Drum Bus
- Patch a drum loop to
In L(andIn Rif sound is stereo). PatchOut LandOut Rto your mixer. Set knobs as shown, and flip the switches toFwdandHld. This patch adds saturation and undertones to your patch, as well as creating delay effects. Each time there’s a quieter part of your loop, the delays will swell and fill the void. Try tappingFlowto freeze the input, creating fills and even more extreme granular effects.

- Grain Chorus
- Patch a long, slow sound source to
In L(andIn Rif sound is stereo). PatchOut LandOut Rto your mixer. Set knobs as shown, and flip the switches to???andFrz. This patch creates a wide chorusing effect. It’s especially effective on slow sequences, and slowly evolving leads. Try changing theToneparameter to introduce filtering and subharmonics or shimmering octaves.

Firmware swapping#
Use our firmware swap app to change your platform module's firmware at any time.
To get started:
- Turn off the power to your case and unscrew the module.
- Remove the power connector on the back of the module.
- Plug a micro USB connector into the port on the pack of the module, and the other end into your computer.
- Follow the instructions in the firmware swap app.
Warranty#
We will repair or replace (at our discretion) any product that we manufactured for one year after initial purchase as long as we are able to get the parts to do so. This warranty does not apply to normal wear and tear, including art/panel wear, or any products that have been modified, abused, or misused. Our warranty is limited to manufacturing defects.
Warranty repairs/replacements are free. Repairs due to normal wear, user modification, or other damage are charged at an affordable rate. Customers are responsible for the cost of shipping to Noise Engineering technicians for repair.
All returns must be coordinated through Noise Engineering; returns without a Return Authorization will be refused and returned to sender.
For immediate issues with new modules, please contact your dealer for a replacement. Otherwise, please contact us if you think one of your modules needs a repair.