Imitor Versio Manual#
Stereo in, stereo out 12-tap multimode delay with clock sync and tap tempo
Screen reader accessible documentation
Overview#
Imitor Versio is a delay designed for experimentation. With 12 delay taps and a slew of parameters designed to make the delay perform in unfathomable ways, Imitor Versio is perfect for creating unusual echoes, experimenting with different delay shapes and patterns, adding vintage flare to an atmosphere, and more.
- Type: Stereo reverb/DSP platform
- Size: 10 HP
- Depth: 1.5 inches
Etymology#
Imitor -- from Latin: "Imitate"
Versio -- from Latin: "Versatile"
"Versatile imitation"
Color code#
On boot, the Imitor Versio's LEDs will shine with this color pattern to indicate that it is running the current Imitor Versio firmware:

Power#
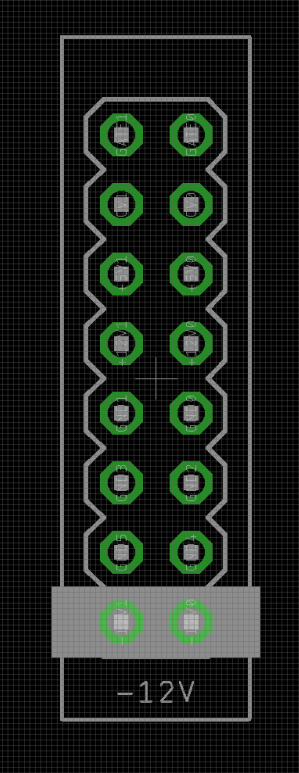
To power your Versio, turn off your case. Plug one end of your ribbon cable into your power board so that the red stripe on the ribbon cable is aligned to the side that says -12 V and each pin on the power header is plugged into the connector on the ribbon. Make sure no pins are overhanging the connector! If they are, unplug it and realign.
Line up the red stripe on the ribbon cable so that it matches the white stripe and/or -12 V indication on the board and plug in the connector.
Screw your module into your case before powering on the module. You risk bumping the module's PCB against something metallic and damaging it if it's not properly secured when powered on.
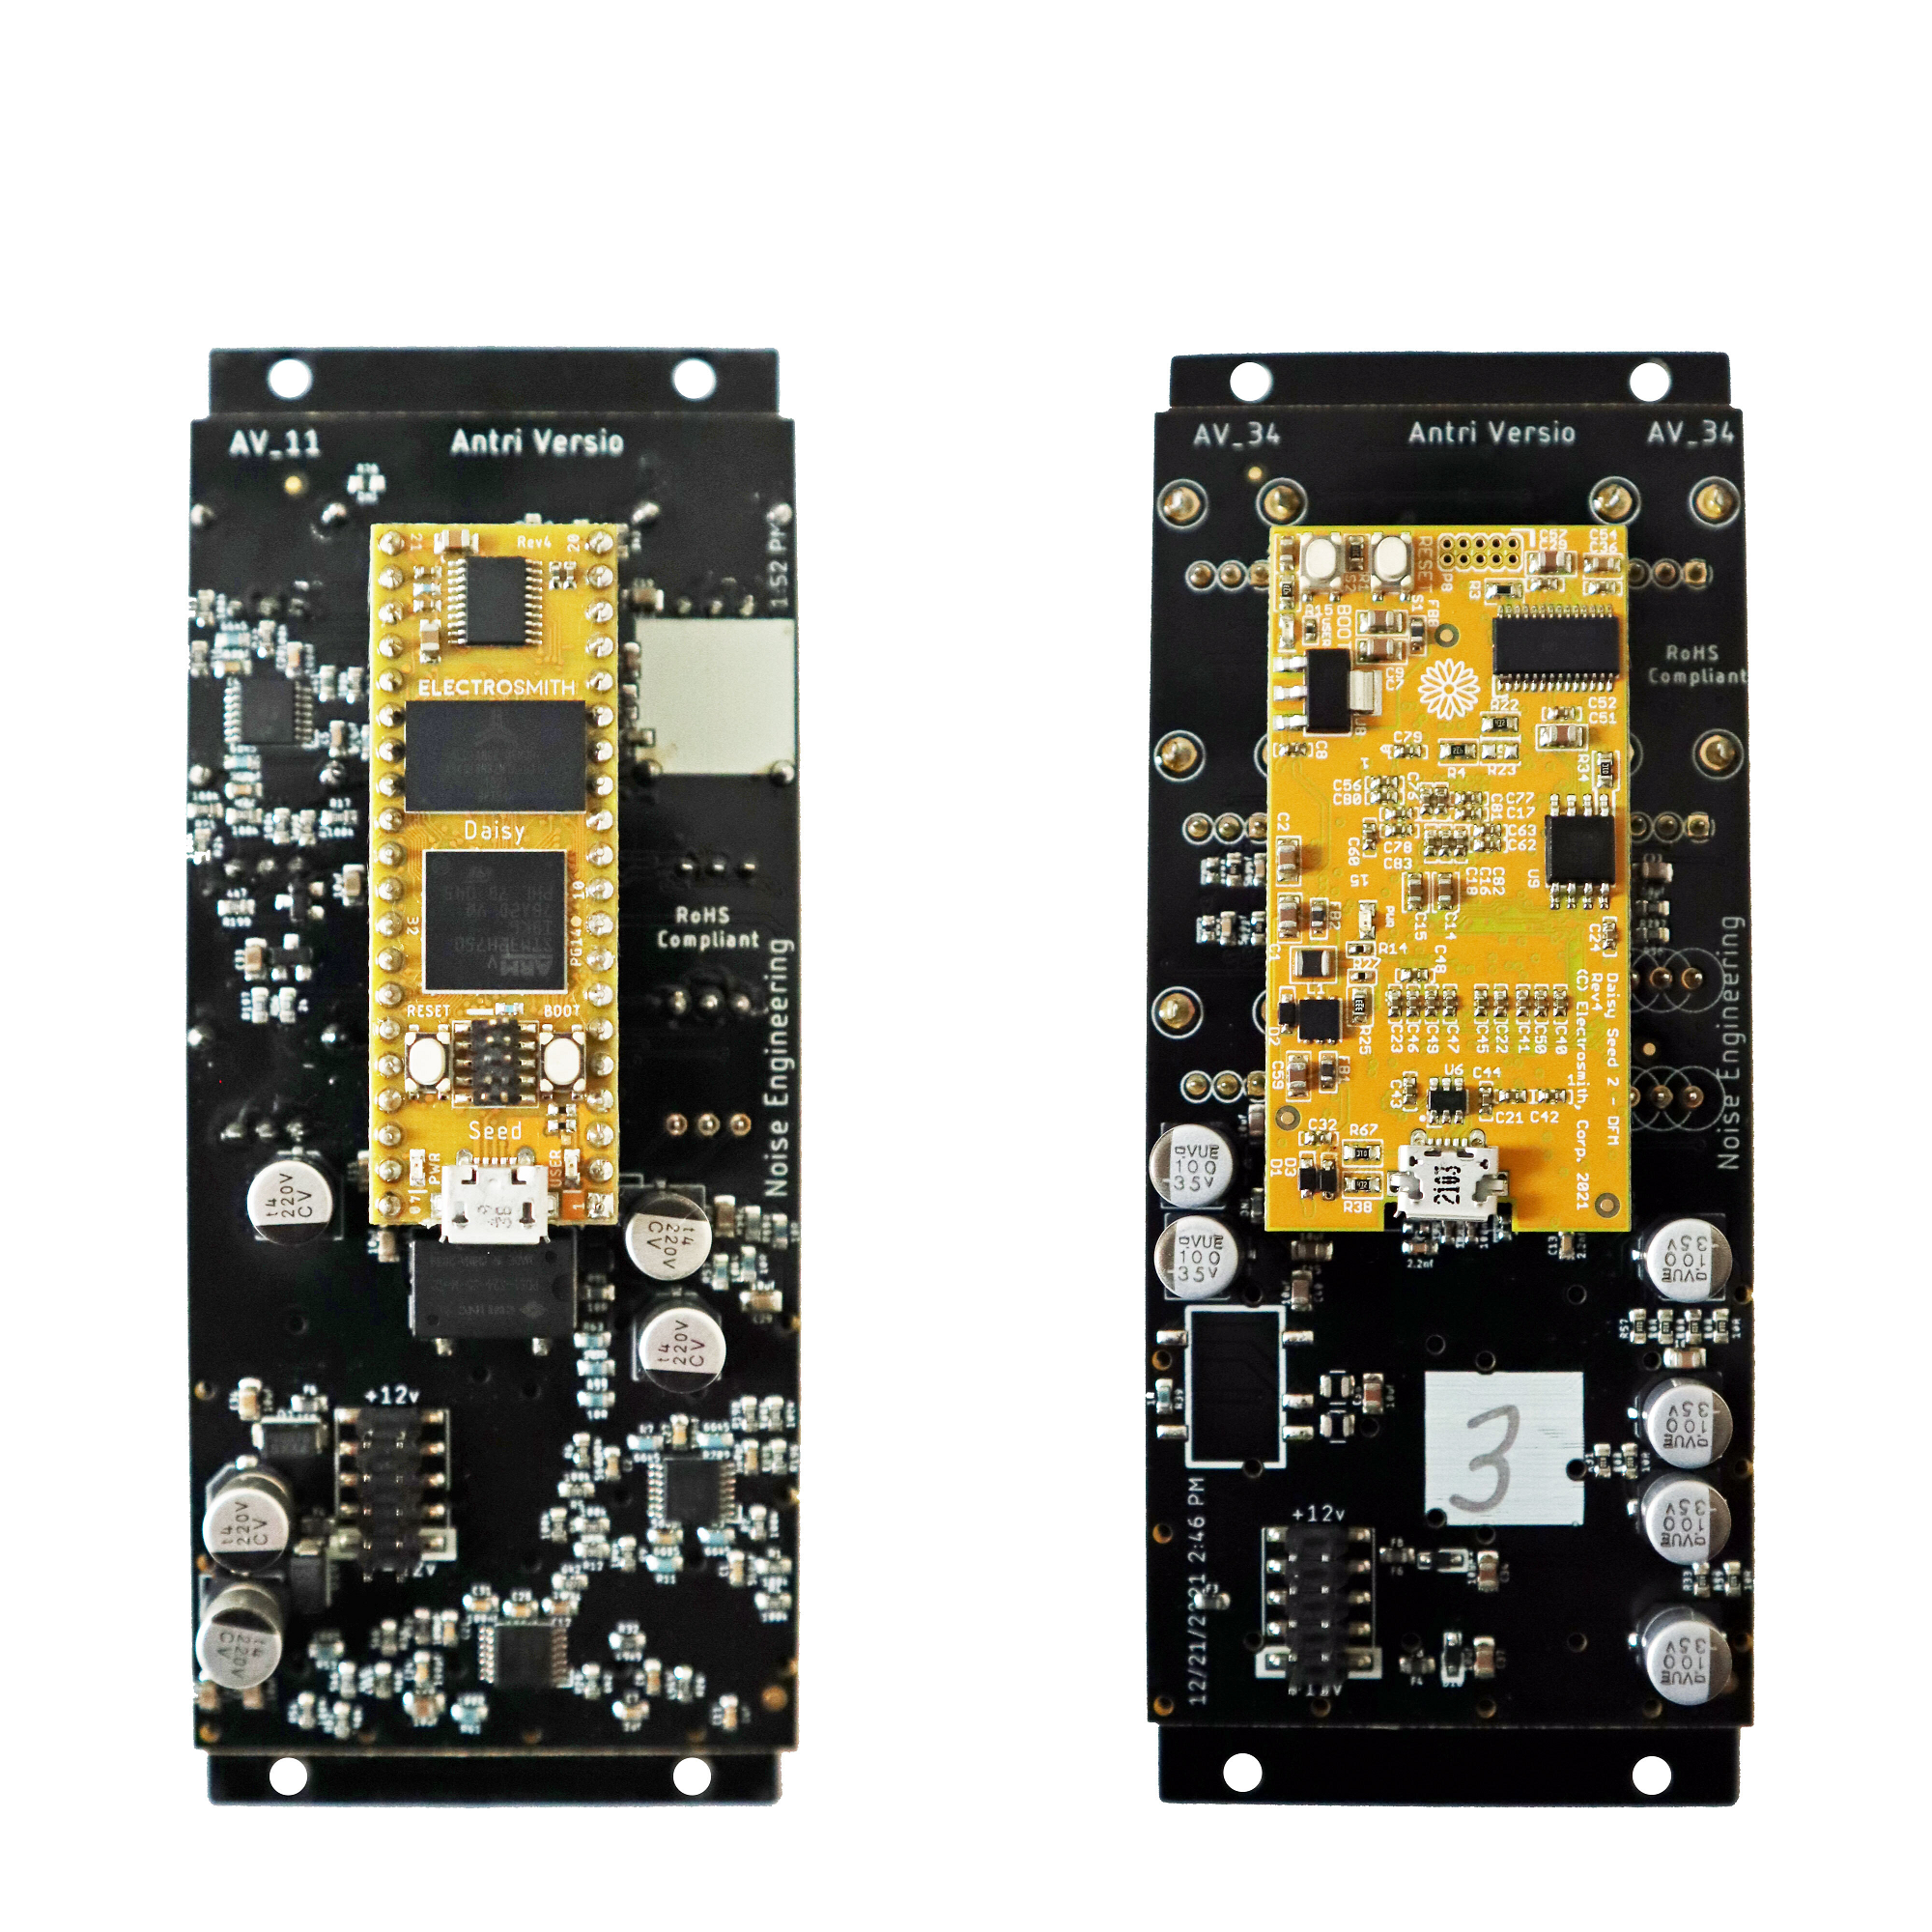
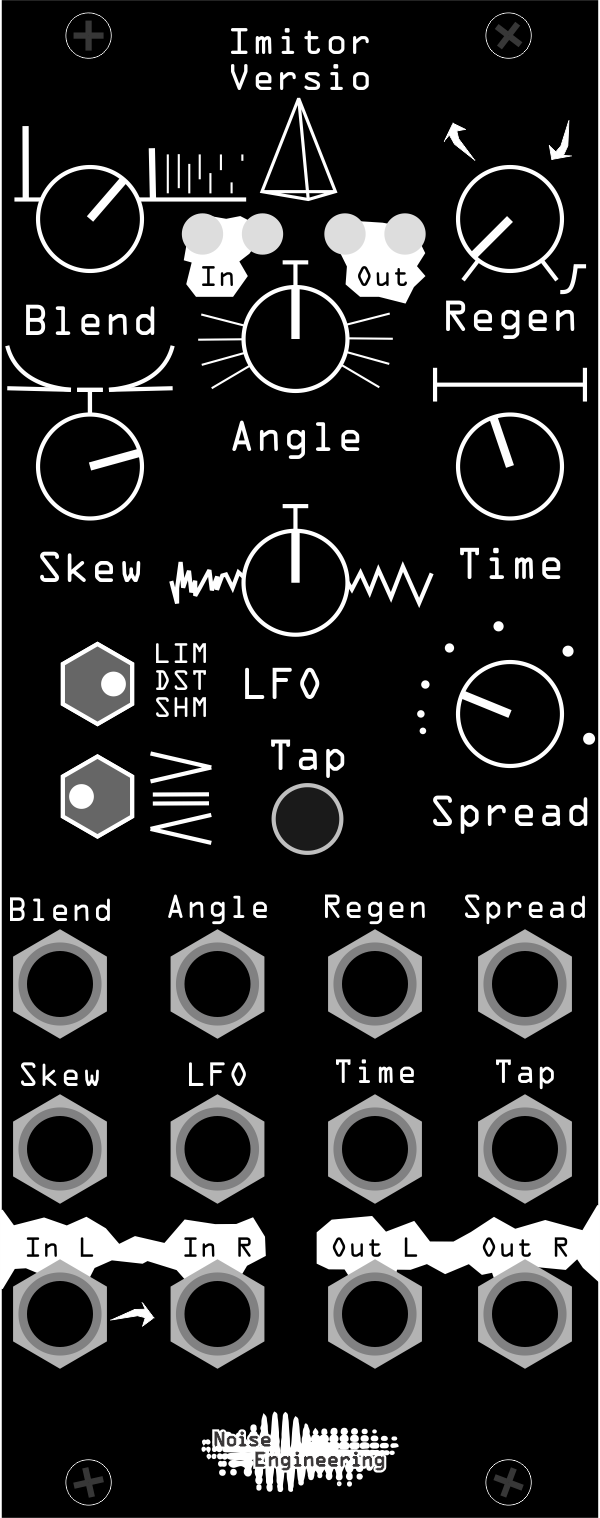
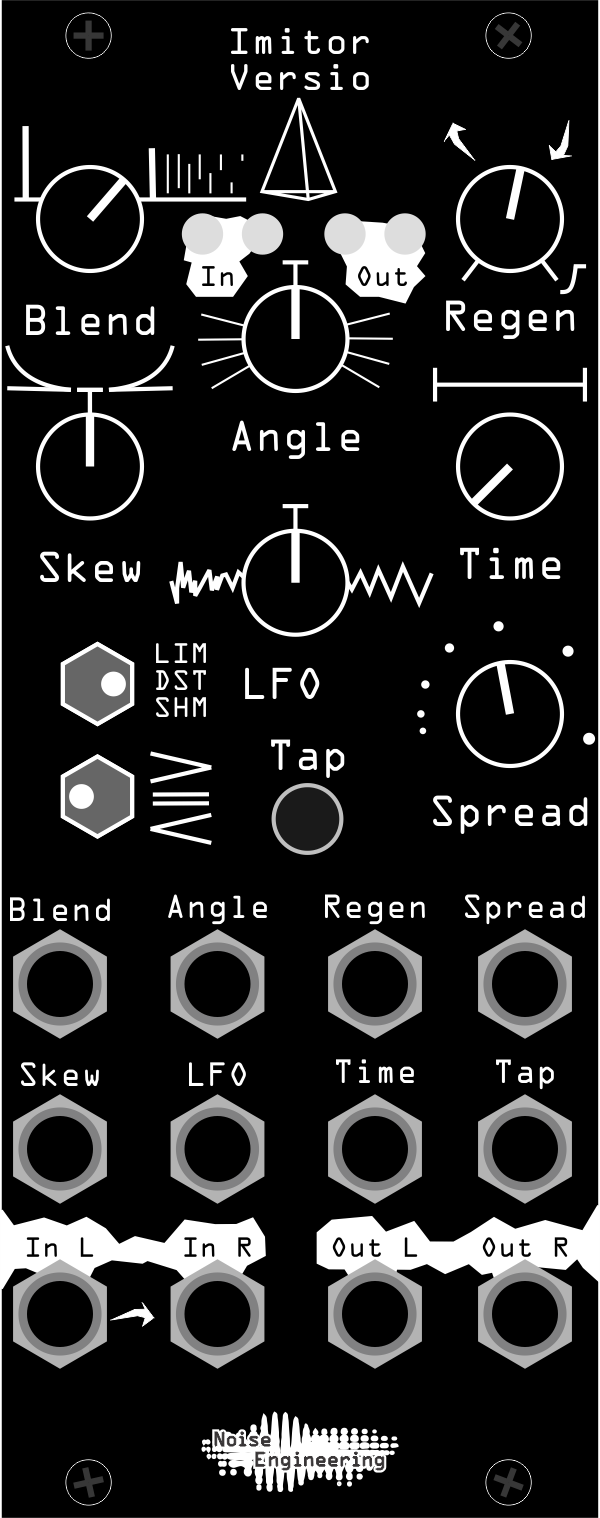
If your Versio looks like the left picture, it requires 70mA +12v and 70mA -12v. If it looks
like the right picture, it requires 125mA +12v and 10mA -12v. Versio does not use the
+5v rail.
You should be good to go if you followed these instructions. Now go make some noise!
Technical specifications#
All CV inputs expect 0 V to 5 V. All pots act as offsets and sum with the input CV. The Tap gate input responds to signals above 2 V. The audio inputs clip around 16 V peak to peak. Imitor Versio operates at an internal and external sample rate of 96 kHz.
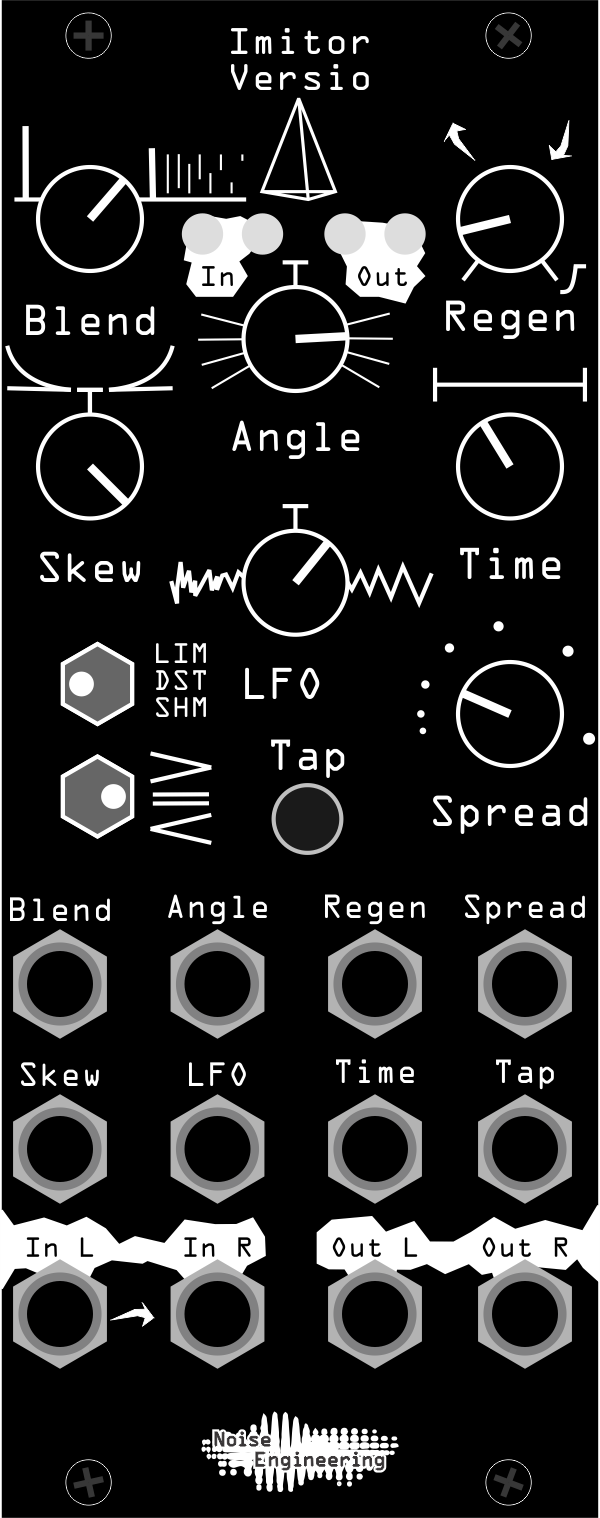
Interface#
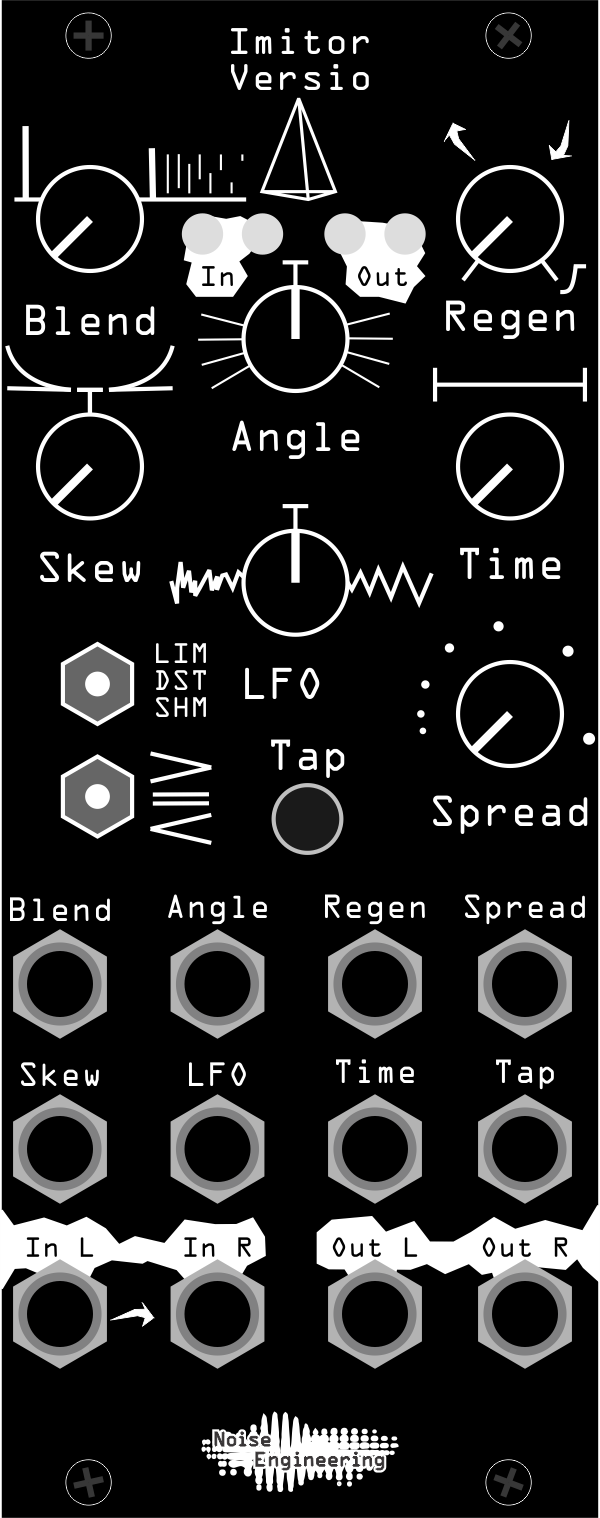
Imitor Versio's parameters are described below, followed by the corresponding Desmodus Versio parameter in parentheses for ease of use when reflashing.
- Blend (Blend)
- Wet/dry mix between the input signal and the resulting delay.
- Regen (Regen)
- Feedback amount for the delay lines. Turning this control past 3:00 ducks the delay line based on the input, creating sidechain-type effects. Regen is a sensitive control and while you are learning the module you may have best results if you keep it relatively low.
- Skew (Speed) [bipolar]
- Changes the relative timing of the delay taps. In the center, the spacing between taps is equal. To the left, the spacing starts fast and gets slower. To the right, the spacing starts slow and gets faster. Useful for a variety of effects like bouncing ball to the left and dying clock to the right.
- Angle (Tone) [bipolar]
- Imagine that the delay taps are arranged in a circle in the L/R space. This control sets the amount that each tap is offset in that circle relative to the previous tap. For instance, at 1:00, the second tap will be rotated slightly further right than the previous, and the tap after that would be rotated even more, eventually looping back to the left side of the circle. At extreme clockwise/counterclockwise values, taps bounce around the stereo field wildly.
- LFO (Index) [bipolar]
- Adds modulation and wide bandpass filtering to the delay line. To the left the modulation is random, to the right it is triangular. Think of LFO as a "warble" control with two flavors of warbliness.
- Time (Size)
- How much time there is before the first delay as a fraction of the Spread setting.
- Spread (Dense)
- Base delay time. This sets the time from now until the last tap. When using a tap or external clock, this acts as a clock divider/multiplier.
- LIM/DST/SHM
- Delay mode that changes how the feedback path is processed: clean, slightly distorted, and pitch-shifted shimmer.
- >/=/< (BND/LRP/JMP)
- Changes how the 12 delay taps behave. To the left, the taps decrescendo. To the right, the taps crescendo. In the center, all taps are equal volume.
- Tap (FSU)
- Tap tempo. Output LEDs flash purple each time a clock pulse/tap is received. Holding down the button for 2 seconds clears the tapped tempo (LEDs flash orange) and the Size and Dense knobs then control timing entirely. Holding down the button for 5 seconds clears the delay lines completely (LEDs flash white). The corresponding jack acts as a clock input.
Patch tutorial#
- Angry Duck
- Patch a short, low frequency sound (like a kick or a subby pluck) to
In L. PatchOut LandOut Rto your mixer. Set knobs as shown, and switches toLIMorDSTand<. This patch uses the Regen knob’s highest setting to duck the delay signal based on the audio input. Works best with short, low frequency sounds like kicks and subby plucks.

- Snap Crackle Pop
- Patch a clock or trigger sequence to
In L, and PatchOut Land Out R to your mixer. Set the knobs to the positions shown, and set the switches toSHMand=. Experiment with different settings for all the controls on IV: different types of triggers combined with the various parameters on IV give unusual textures difficult to create with other methods of synthesis. Try sending two different clocks or trigger patterns to theLandRinputs for extra stereo.
- Bouncing Ball
- Send a short, plucky sound to
In L(andIn Rif your sound is stereo). PatchOut LandOut Rto your mixer. Set knobs to the positions shown, and the switches toLIMand>. Listen to your input bounce. Try adjustingAngleto make it jump around the room!
- Reverse Delay
- Patch any sound to
In L(andIn Rif your sound is stereo). PatchOut LandOut Rto your mixer. Set knobs to the positions shown, and switches toLIMand<. The crescendo and skew settings give you a delay that sounds like the delay is playing in reverse.

- Shimmers
- Patch a longer melodic sound to
In L(andIn Rif your sound is stereo). PatchOut LandOut Rto your mixer. Set the knobs as shown, and the switches toSHMand>. Pitch shifting can be introduced withRegenvalues above 0, and is most noticeable withRegenabove 12:00. This works particularly well on longer melodic sounds, and has interesting effects on non-pitched sounds like noise and percussion.
- 80s
- Patch any sound to
In L(andIn Rif your sound is stereo). PatchOut LandOut Rto your mixer. Set the knobs as shown, and the switches toDSTand>. Experiment with theLFOknob to hear the way it changes the delay’s timbre. More extreme warbles and pitch shifts can be achieved by modulatingSpreadwith CV signal like an LFO.
Firmware swapping#
Use our firmware swap app to change your platform module's firmware at any time.
To get started:
- Turn off the power to your case and unscrew the module.
- Remove the power connector on the back of the module.
- Plug a micro USB connector into the port on the pack of the module, and the other end into your computer.
- Follow the instructions in the firmware swap app.
Warranty#
We will repair or replace (at our discretion) any product that we manufactured for one year after initial purchase as long as we are able to get the parts to do so. This warranty does not apply to normal wear and tear, including art/panel wear, or any products that have been modified, abused, or misused. Our warranty is limited to manufacturing defects.
Warranty repairs/replacements are free. Repairs due to normal wear, user modification, or other damage are charged at an affordable rate. Customers are responsible for the cost of shipping to Noise Engineering technicians for repair.
All returns must be coordinated through Noise Engineering; returns without a Return Authorization will be refused and returned to sender.
For immediate issues with new modules, please contact your dealer for a replacement. Otherwise, please contact us if you think one of your modules needs a repair.
Special thanks#
- René Boscio
- Erwin Coumans
- Rob Vonderheide